Installation Guides for Car Video Systems
Key Takeaways
- Understand the types of car video systems available.
- Step-by-step instructions for various installations.
- Safety tips and troubleshooting common problems.
- Choosing the right tools and accessories.
- Resources for further assistance and installation products.
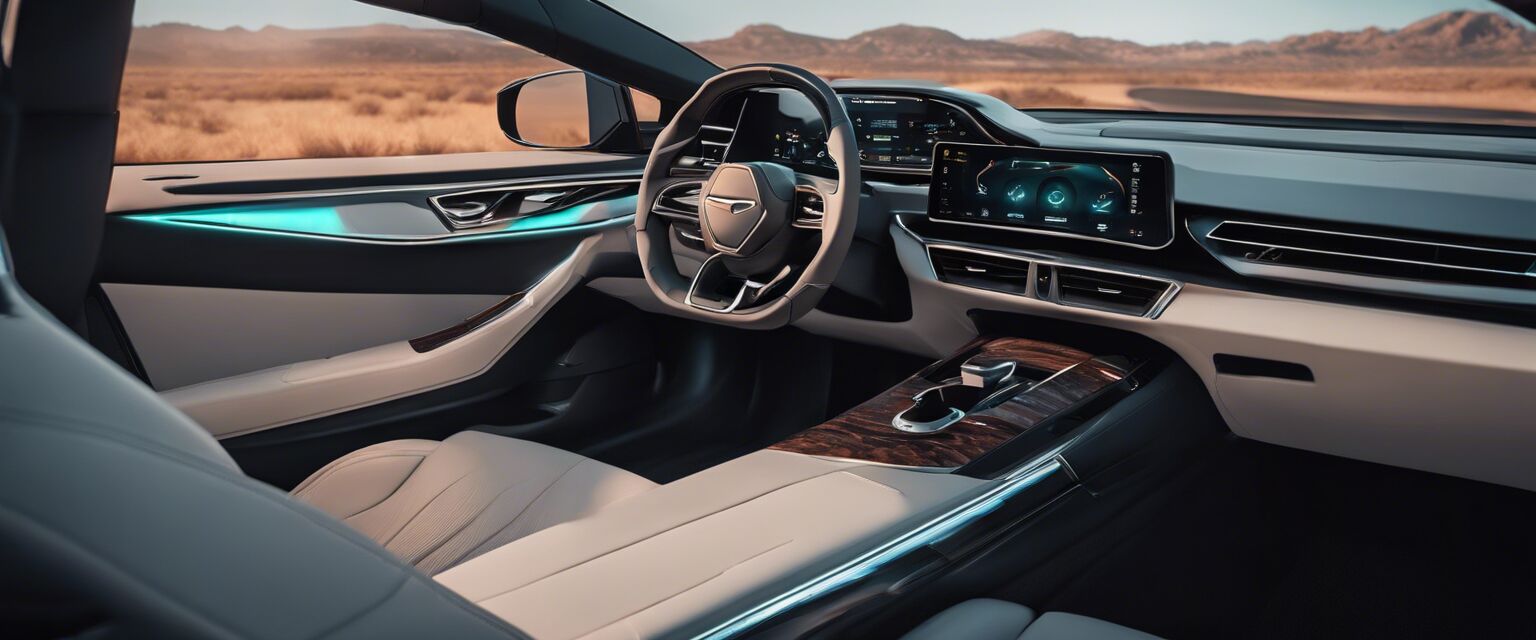
Installing a car video system can greatly enhance your driving experience, providing entertainment and functionality. With a few tools and some guidance, you can install various types of car video systems, including headrest DVD players, in-dash video players, and more. This detailed guide will take you through step-by-step instructions for the installation of different systems in your vehicle.
Types of Car Video Systems
Before diving into installation, it's crucial to understand the types of car video systems you might want to install. Here's a quick overview:
| Type | Description | Installation Complexity |
|---|---|---|
| Headrest DVD Players | Portable systems mounted on the back of the front seats. | Easy |
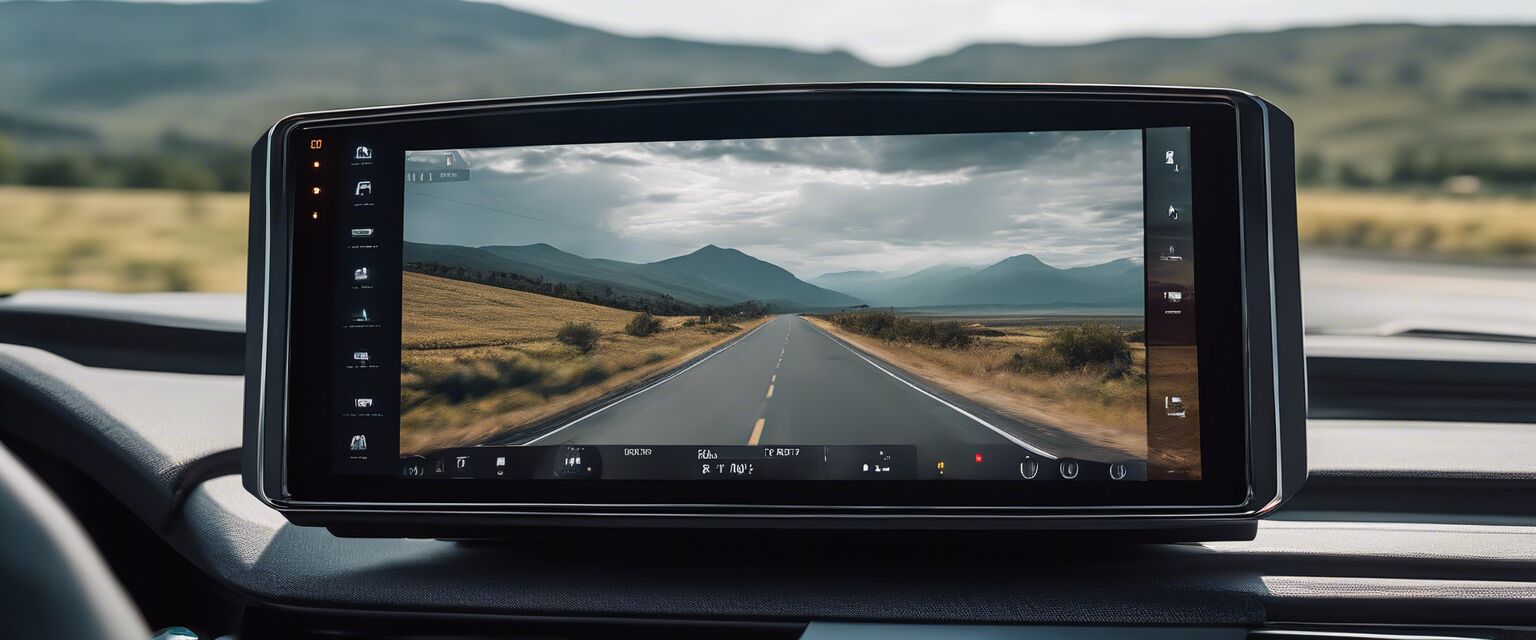
| In-Dash Video Players | Integrated systems that replace your vehicle's dashboard screen. | Moderate |
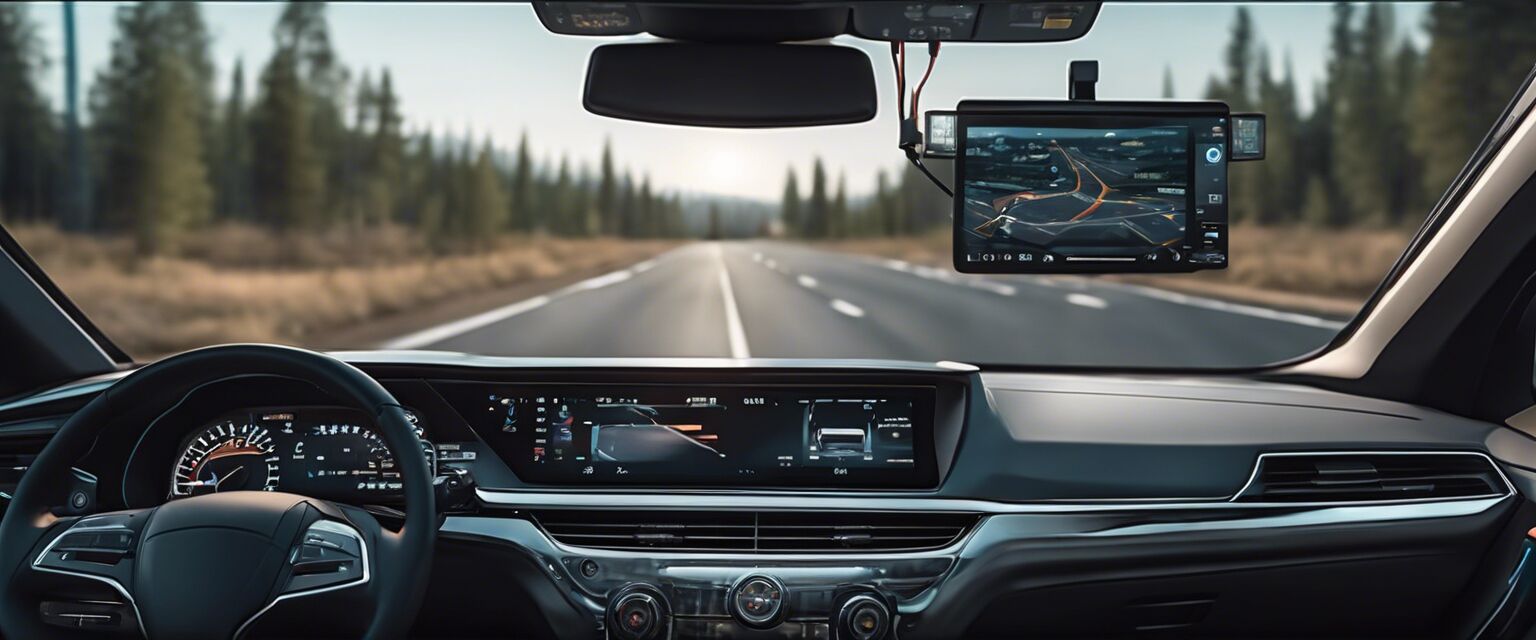
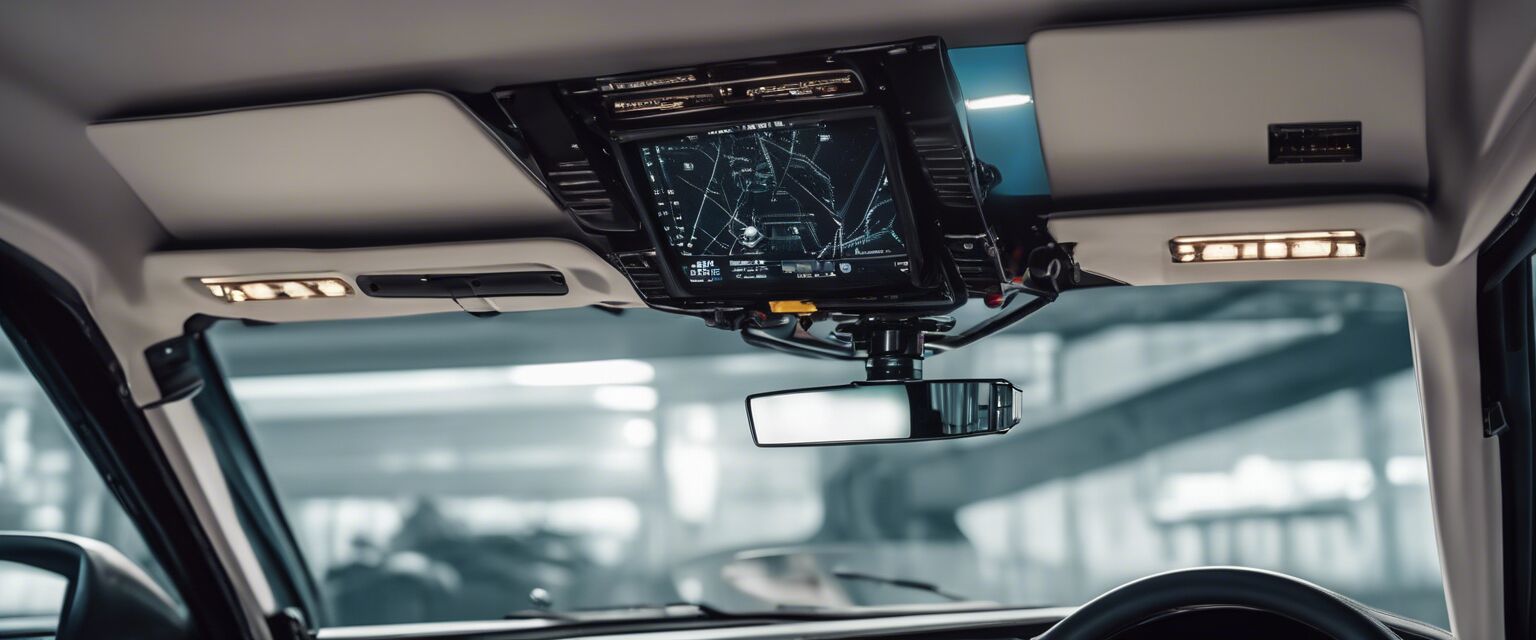
| Overhead Car Monitors | Mounted on the ceiling of your vehicle for broader viewing. | Moderate |
| Portable Car DVD Players | Standalone units that can be used in multiple vehicles. | Very Easy |
| Rooftop HDMI Monitors | High-definition monitors that can display from various sources. | Hard |
Step-by-Step Installation Guides
1. Installing Headrest DVD Players
Follow these steps to install headrest DVD players:
- Purchase appropriate headrest monitors and mounting brackets.
- Remove the existing headrests from the front seats.
- Attach the mounting brackets to the new monitors.
- Feed the power and video cables through the seat covers.
- Reconnect the headrests and test the monitors.
2. Installing In-Dash Video Players
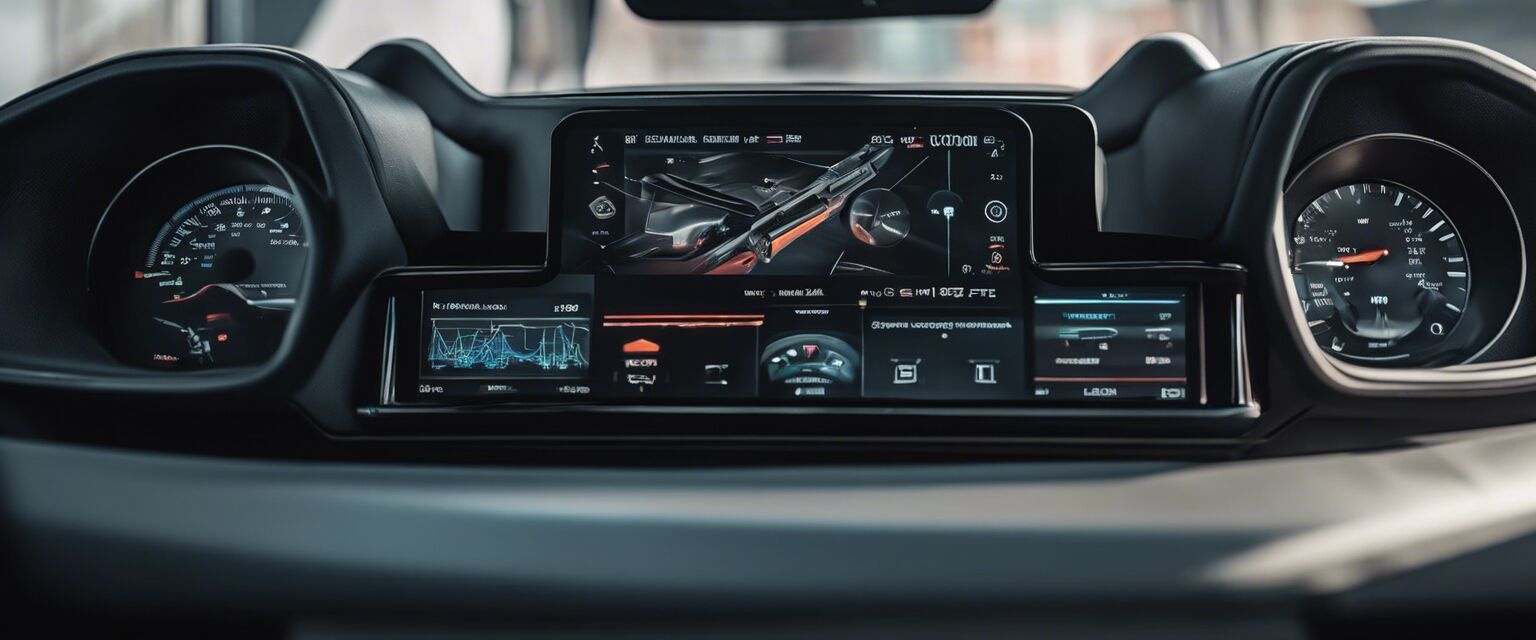
This installation requires some technical skills. Here's how to do it:
- Disconnect the car battery to ensure safety.
- Use a trim removal tool to detach the dashboard panel.
- Unscrew the old unit and disconnect the wiring harness.
- Connect the wiring harness to the new in-dash video player.
- Mount the new player and reattach the dashboard panel.
- Reconnect the car battery and test the system.
3. Installing Overhead Car Monitors
Follow these steps for overhead monitor installation:
- Choose a suitable location for mounting.
- Mark the holes for screws and drill if necessary.
- Connect the wiring for power and video feed.
- Mount the overhead unit securely.
- Test the functionality before finalizing the installation.
Safety Tips for Installation
- Always disconnect your car battery before installation.
- Ensure all tools are ready and that you have adequate space to work.
- Follow the manufacturer's guidelines to avoid damage.
- Test the system thoroughly after installation to ensure proper functionality.
- Never rush through the installation process; take your time.
Troubleshooting Common Issues
If you encounter issues after installation, consider the following troubleshooting tips:
- Check all connections and ensure they are secure.
- Make sure the car battery is charged; a low battery may cause malfunctions.
- Refer to the user manual for specific error codes or issues.
- Consult online forums or reach out to installation professionals for help.
Choosing the Right Tools and Accessories
Having the right tools can make installation much easier. Essential items include:
- Screwdrivers (Phillips and flathead)
- Trim removal tools
- Wire strippers and connectors
- Drill (for certain types of installations)
- Multimeter (for checking electrical connections)
Further Resources
For more in-depth information on specific types of car video systems, check out our detailed categories:
- Car video system accessories
- Headrest DVD players
- In-dash video players
- Overhead car monitors
- Portable car DVD players
Pros
- Enhanced entertainment options during travel
- Variety of systems to fit different needs
- Potentially increase resale value of your vehicle
Cons
- Installation can be complex for inexperienced users
- Initial costs for high-quality systems can be significant
- Some systems may require professional installation
